

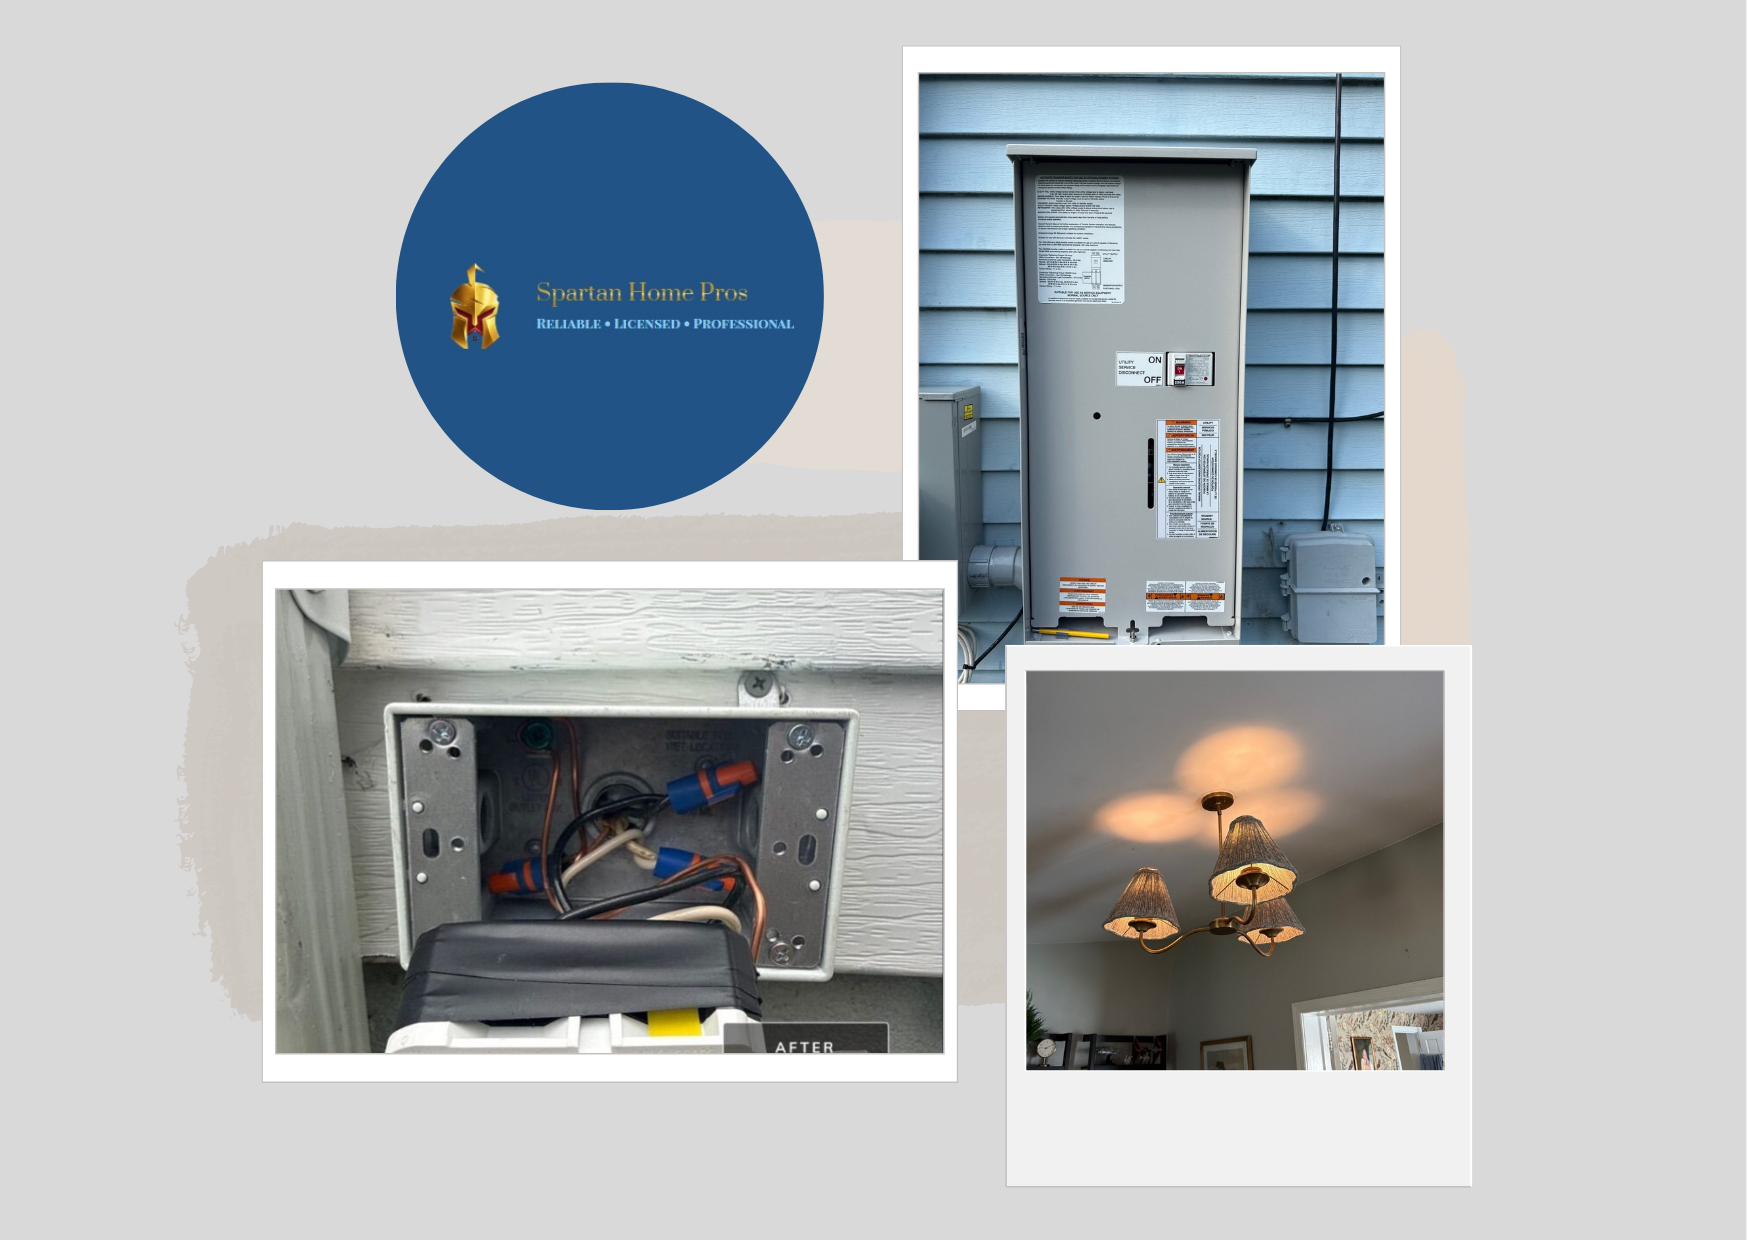
Pre-Upgrade Inspection Checklist
Before any work begins, start with a thorough assessment of your home’s existing electrical system. Look for warning signs such as frequent breaker trips, flickering lights, burning smells, or scorch marks around the panel area. These conditions can indicate electrical panel upgrade overheating, loose connections, or an undersized service that cannot handle modern loads. A licensed electrician should verify the panel’s condition, labeling, and wiring layout to confirm what needs replacement rather than temporary fixes.
Next, document your current power demands and future upgrades. Make a simple list of major appliances and devices, including central air, water heating, electric ovens, EV chargers, and any workshop equipment. Then compare that list to the panel’s capacity and the number of available circuits. This step helps prevent another round of problems after you install new appliances, and it guides decisions about circuit additions and safe load distribution throughout the home.
Safety, Permits, and Load Planning
Electrical upgrades must follow local codes, so your checklist should include permits and inspection scheduling. Ask the electrician what permits are required and how the work will be inspected, because compliance affects both safety and long-term reliability. Confirm that the recessed lighting installation plan includes proper grounding and bonding, as well as correct conductor sizing for the service and branch circuits. When these items are addressed upfront, the installation is less likely to require rework later.
Load planning is where many homeowners benefit from a structured approach. Request a clear circuit map that shows what each breaker will serve after the upgrade, including dedicated circuits for high-draw equipment. If you plan on interior improvements, coordinate timing so new lighting circuits or additional outlets are planned at the same time. This reduces the chance of opening walls twice and helps keep your electrical system organized and easier to troubleshoot.
Installation Readiness and Finish-Out Tasks
As part of your preparation checklist, decide how you want the area around the panel to be handled. Ensure the work zone is accessible, including clear space in front of the panel and unobstructed access to the service disconnect area. If there are cabinets, trim, or drywall features nearby, discuss with your electrician what will be protected or removed. This planning keeps the installation safer and helps reduce cleanup time after the upgrade.
Also consider lighting and interior improvements that connect to circuit planning. If you’re adding or modifying ceiling features, coordinate the electrical rough-in so wiring is placed before drywall finishing. A structured schedule helps avoid mismatched switch legs, uneven dimmer compatibility, or incorrect transformer placement for low-voltage fixtures.
Conclusion
Using a checklist-style process reduces uncertainty and helps you confirm that your electrical system is built for today’s demands. Start with inspection, verify capacity and circuit needs, plan for permitting and code compliance, and then coordinate finish-out tasks so wiring is installed once and done right. When you align appliance needs, lighting goals, and safety requirements, you get a cleaner result and fewer interruptions. For professional guidance, njspartan.com offers licensed support for outdated panels, modern appliance demands, and dependable performance improvements. Their team focuses on safe upgrades that strengthen your home’s electrical capacity while keeping wiring and installation decisions organized. If you’re planning a whole-home improvement, pairing the electrical work with your lighting plans can deliver a smoother experience and more reliable everyday power.